Bring Your Own License (BYOL)
This section describes how to get up and running with a Customer Cloud Deployment through the AWS Marketplace.
Step 1: Follow along with the general steps for Customer Cloud Deployment
Before you can launch your AWS Marketplace STRM Privacy - Bring Your Own License Installation, you need to follow along with step 1 and step 2 from the prerequisites section.
Additionally, to the tools mentioned in step 2, you'll need to install:
eksctl: a CLI to easily manage EKS clusters (unifies a lot ofawsCLI andkubectlcommands).
Step 2: Setup a Kubernetes cluster with AWS EKS
One of the prerequisites for the STRM Privacy Data Plane is an operational Kubernetes cluster. If you don't have an EKS cluster yet, please follow the instructions on how to setup an EKS cluster in the AWS EKS getting started guide.
Ensure that the EKS cluster you create, is not a Fargate EKS cluster as that is not supported by the Data Plane.
Step 3: Setup your STRM Privacy Data Plane
Navigate to the STRM Privacy AWS Marketplace listing and follow the following steps.
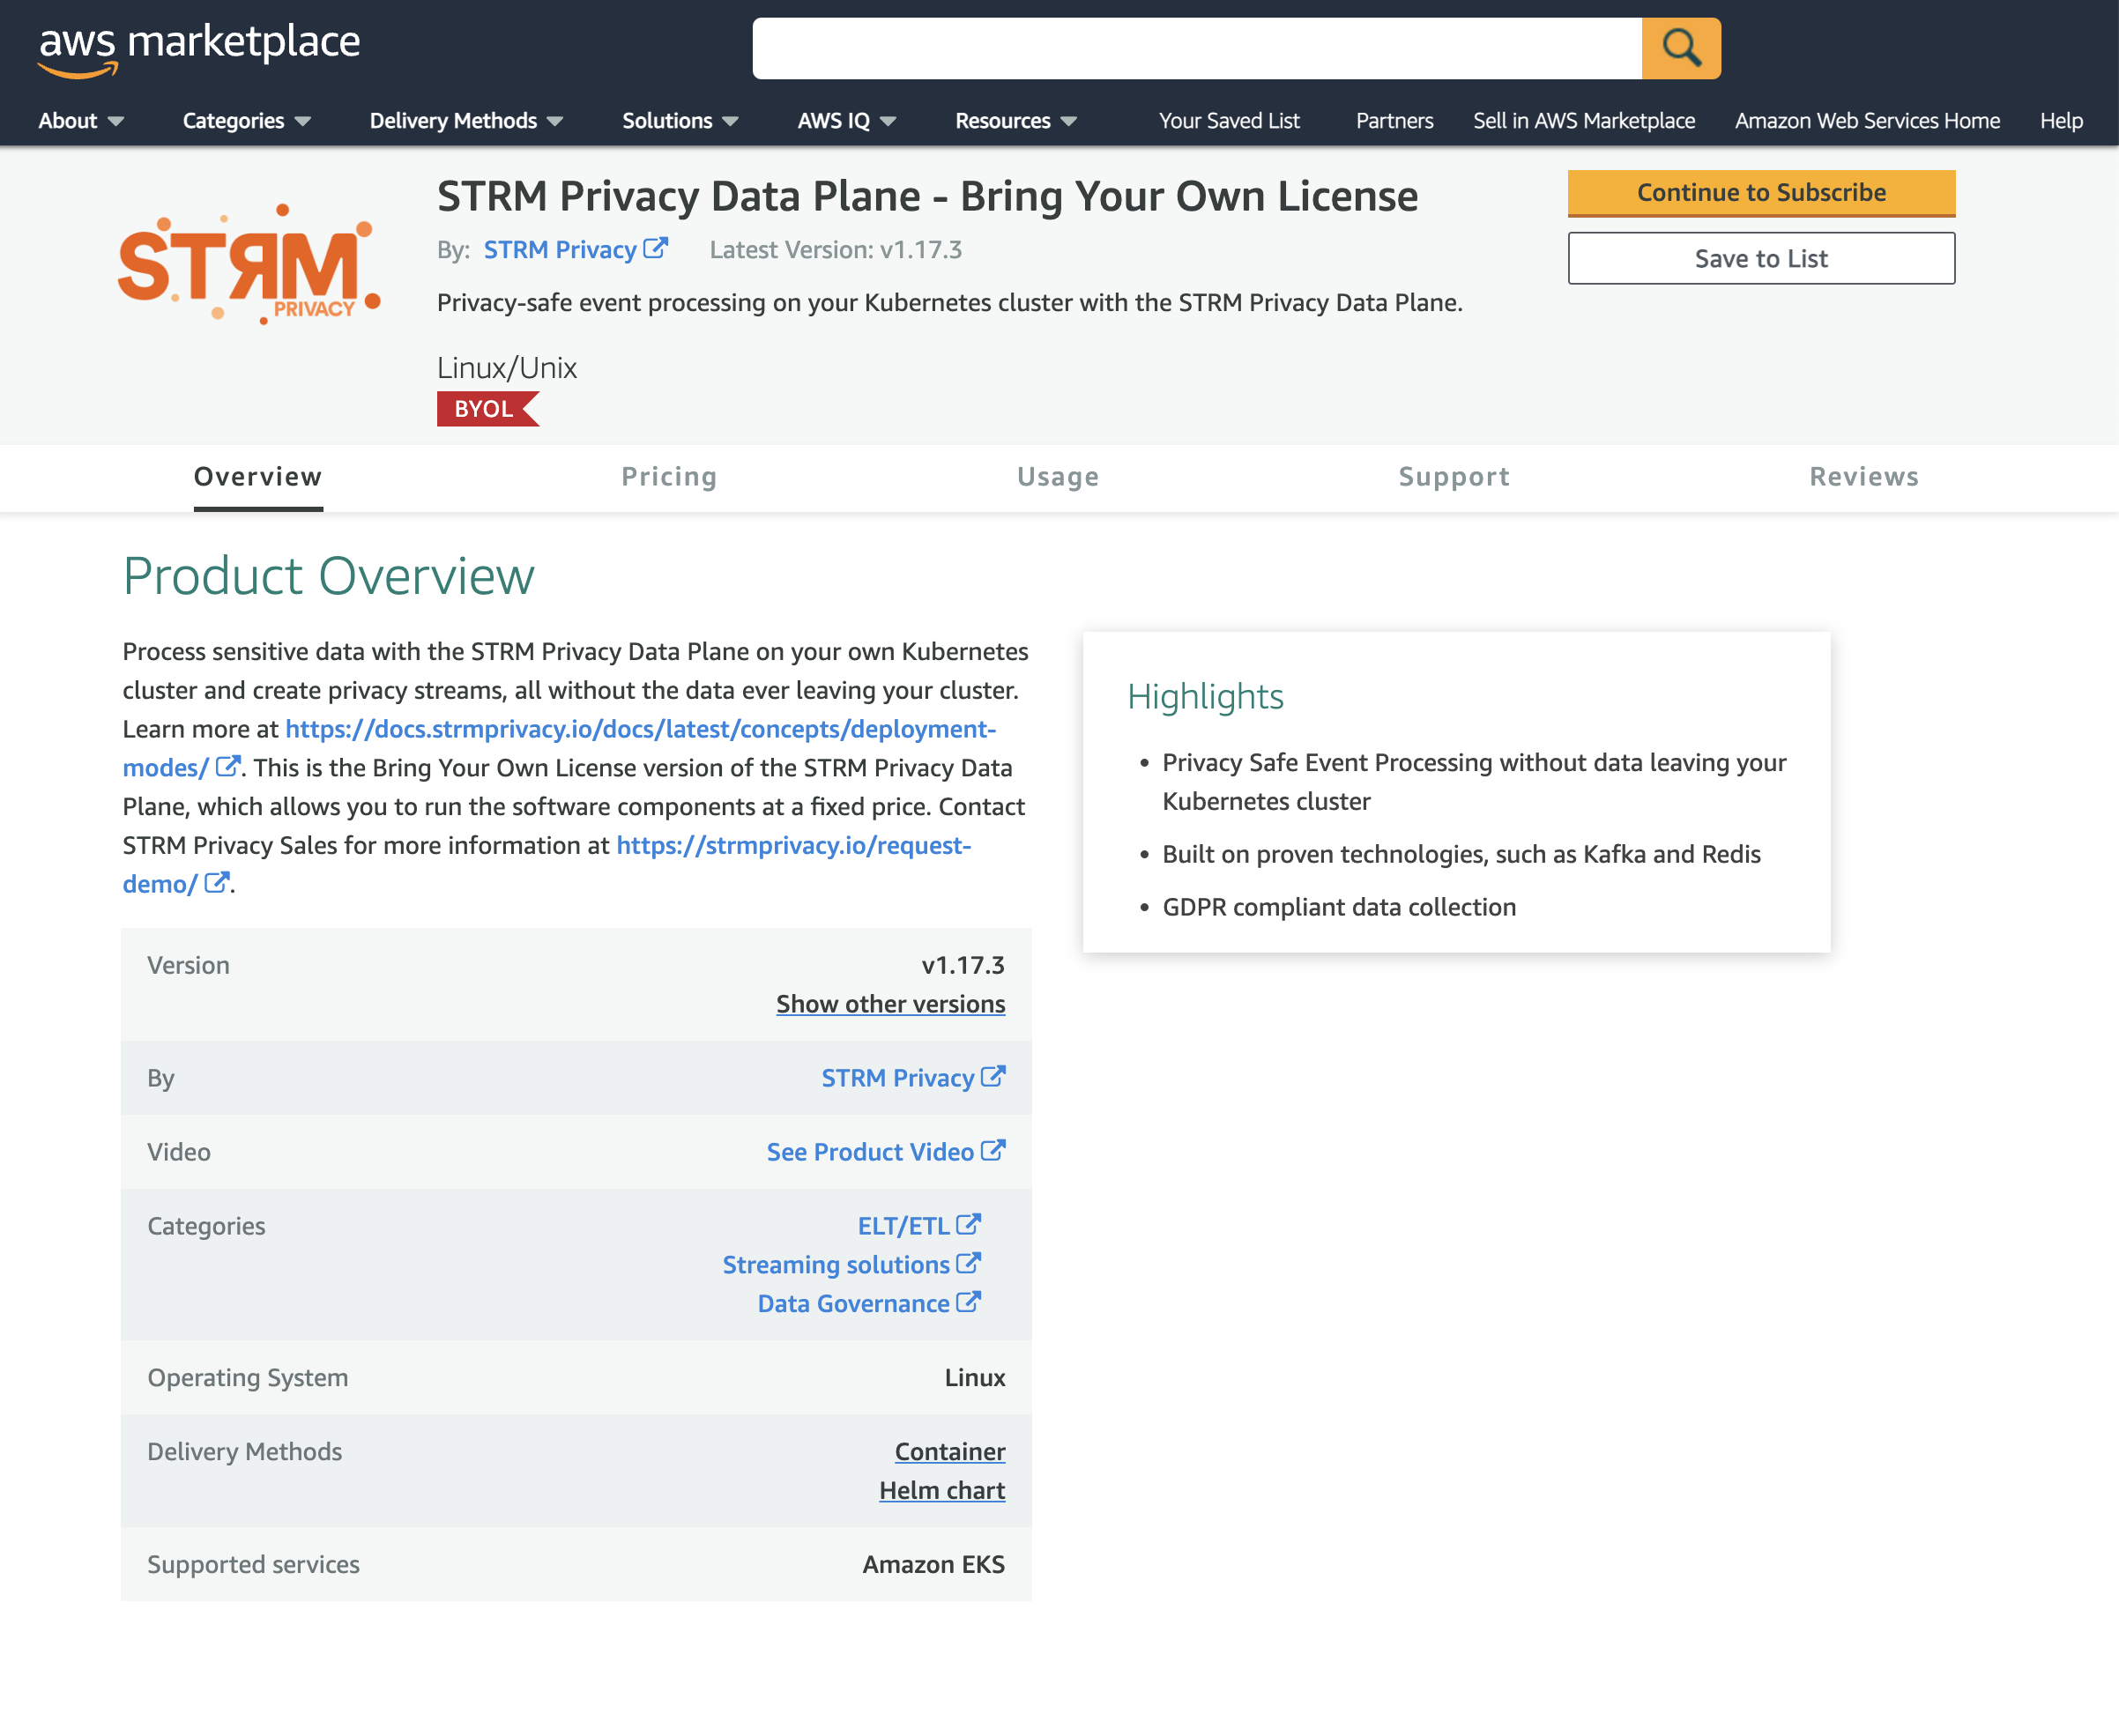
Subscribe
ClickContinue to Subscribe, and thenAccept licenseto start your subscription. Don't clickContinue to the Configuration, but follow along with the steps below.infoThe installation instructions in the AWS Marketplace after subscribing are quite unclear, as many details are left out. Please follow along with this guide to help you setup your Data Plane via the AWS Marketplace
Install the
Run the following commands shown in the script below. If you are working with different AWS profiles, don't forget to add the--profile your_profileflag to theawscommand below.Loading...Replace the placeholders above with the values that can be found in your installation configuration. In the
helm installcommand above, the following remarks apply:
1. The name of the installed Helm Chart (how the installation will show up in thehelm listcommand).
2. The Kubernetes namespace to which the Helm Chart will be installed.
3. TheinstallationType, that indicates that this is a AWS Marketplace BYOL installation.Feel free to change the value for the name of the Helm Chart (1) and the Kubernetes namespace (2).
Wait until the installation finishes
As by default, the embedded Kafka, Redis, and Postgres Database are included, installation can take a moment. After installation, you should end up with a namespace that contains all components that were enabled as specified in thevalues.yaml(here the defaults are used, as they're not overridden).

After these steps, you should end up with a namespace strmprivacy with, by
default, all components enabled. If you
wish otherwise, you can edit the values.yaml to match your needs.
Even though the example above uses --set in the helm install command, prefer using a values.yaml. More details
can be found here.
Wrap-up
You've installed a STRM Privacy Data Plane via the AWS Marketplace. If you have had any issues during your installation, please let us know, or create a pull request on GitHub to improve these docs.
Now that you are done with the setup, follow the docs on how to interact with your cluster to start using it.